

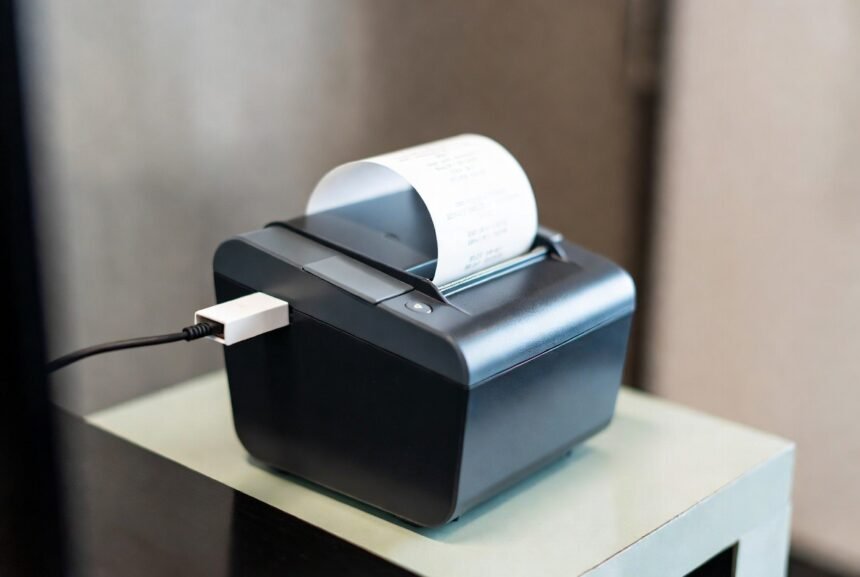
Epson TM-series receipt printers connect to Wi-Fi using an optional USB wireless LAN unit (commonly the OT-WL06). After installing it, the printer creates a temporary network named something like “EPSON_Printer” — join that network, open the Epson TM Utility app or browse to 192.168.192.168, log in (username “epson”; password is either “epson” on older models or the printer’s serial number on newer ones), then point the printer at your business’s 2.4 GHz Wi-Fi network. The whole process typically takes 15–20 minutes for a single printer.
- Understanding the Wi-Fi Dongle for Epson TM Printers
- Real-World Scenarios: Who Needs This Setup
- Step-by-Step: How to Connect a Wi-Fi Dongle to Your Epson TM Printer
- 1. Install the Wi-Fi dongle
- 2. Wait for the temporary access point
- 3. Connect your device to the temporary network
- 4. Launch the configuration tool
- 5. Join the business Wi-Fi network
- 6. Add the printer to the POS system
- 7. Verify and document
- Practical Tips & Common Mistakes
- Conclusion
- FAQs
Epson TM-series receipt printers are widely used in restaurants, retail, and point-of-sale systems. Adding the optional Wi-Fi dongle lets the printer join a wireless network without Ethernet cabling. This guide explains exactly how to connect the Wi-Fi dongle so the printer appears on the network and works with your POS software.
Key Takeaways
- The dongle (commonly OT-WL06) only works on 2.4 GHz Wi-Fi — attempting setup on a 5 GHz-only network is the most common cause of failure
- The temporary setup network is typically reachable at 192.168.192.168, with login username “epson” and a password that depends on the printer’s age
- Each printer needs its own dedicated dongle — none of these can be shared across units
- Document the final IP address (or set a DHCP reservation) for every networked printer, so your POS software doesn’t lose the connection after a power cycle
Understanding the Wi-Fi Dongle for Epson TM Printers
Epson TM printers (models such as TM-m30, TM-T88, TM-m30II, TM-T20III, and similar) support an optional external USB wireless LAN unit, commonly the OT-WL06 (or the earlier OT-WL02 series on older printers). The dongle plugs into a USB port on the printer and provides 802.11 b/g/n Wi-Fi connectivity.
Once installed and configured, the printer joins the local 2.4 GHz wireless network and receives an IP address. POS systems, tablets, or computers can then send print jobs over Wi-Fi instead of a hardwired Ethernet or USB connection. The process requires the official Epson TM Utility app, or a web browser interface, for the initial network setup.
The dongle doesn’t create a permanent hotspot for other devices — it only enables the printer itself to act as a network client. Compatibility should be verified against the specific printer model and current Epson documentation, since supported adapters can vary.
Real-World Scenarios: Who Needs This Setup
Different businesses experience different benefits and challenges when setting up Wi-Fi on their Epson TM printers.
| User Type | Typical Environment | Main Reason for Wi-Fi Dongle | Setup Difficulty |
|---|---|---|---|
| Light users (single station) | Small café or kiosk with one printer | Eliminate one Ethernet cable; easier relocation | Low — single dongle and basic app steps |
| Medium operations (2–4 stations) | Restaurant with counter and kitchen printers | Flexible placement without running new cables | Medium — consistent SSID naming and IP management |
| High-volume retail / multi-printer | Busy store or multi-terminal POS | Centralized network management and fewer wires | Higher — careful IP assignment and signal checks |
| Temporary or pop-up locations | Farmers markets, events, or seasonal setups | Quick wireless connection without fixed networking | Medium — reliable 2.4 GHz coverage required |
Light users usually finish in 15–20 minutes after the dongle is plugged in. Larger setups benefit most from documenting each printer’s IP address and testing print jobs from every terminal.
Step-by-Step: How to Connect a Wi-Fi Dongle to Your Epson TM Printer
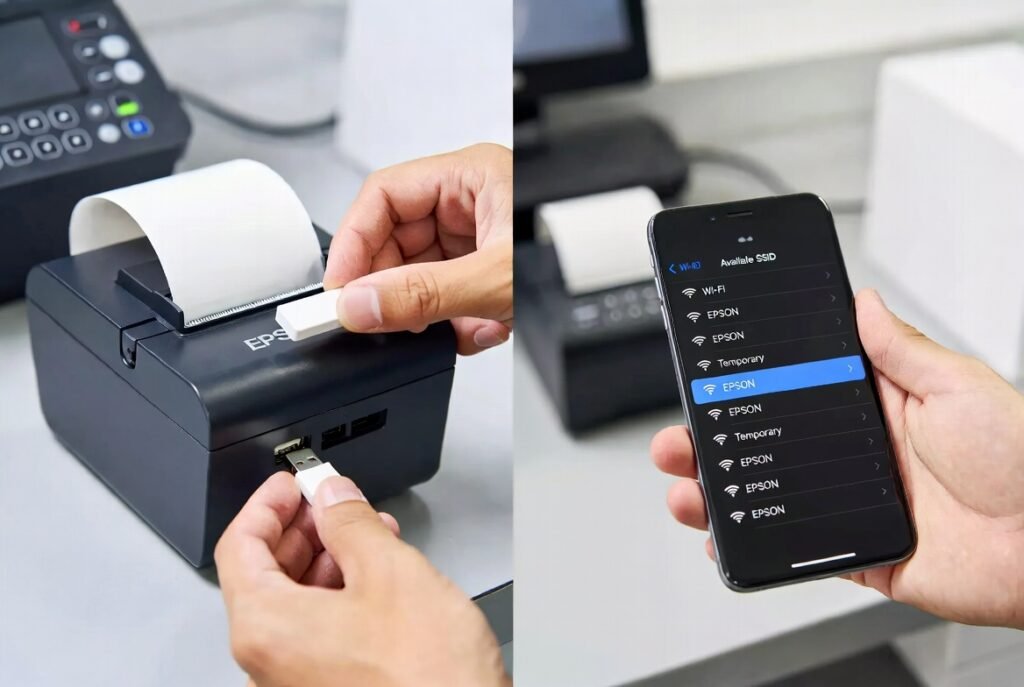
Have the printer’s serial number ready — it’s usually on a label on the bottom or back.
1. Install the Wi-Fi dongle
Power off the printer. Locate the USB port designated for the wireless unit (often on the rear or under a cover). Insert the dongle firmly. Some packages include a short USB extension cable and rubber cover for better placement or signal — use them if the direct port is obstructed or signal is weak. Power the printer back on.
2. Wait for the temporary access point
After powering on, the printer typically creates a temporary Wi-Fi network, usually named “EPSON_Printer” or similar. The printer prints a short status slip that says “SimpleAP Start” and shows the SSID (the last 10 digits of which are the serial number). Wait 1–2 minutes for this to complete.
3. Connect your device to the temporary network
On a computer, tablet, or phone, open Wi-Fi settings and join the printer’s temporary network. If prompted for a password, try “12345678” first, or check the printer’s serial number or the status slip. Stay connected to this network during the next steps.
4. Launch the configuration tool
Download and open the free Epson TM Utility app (available for iOS and Android), or open a web browser and navigate to 192.168.192.168. Your browser will likely show an “untrusted connection” warning — this is expected for the printer’s local setup page; proceed past it.
You’ll be prompted for a username and password:
- Older printer models: username and password are both “epson”
- Newer printer models: username is “epson”; password is the printer’s serial number (case-sensitive in some cases)
5. Join the business Wi-Fi network
Inside the utility or web interface, select the Wi-Fi Setup Wizard or Network > Wireless section. Choose your business’s 2.4 GHz SSID, enter the correct password (WPA2-PSK/AES is the standard security type), and save/apply the settings. The printer leaves the temporary network and attempts to join the target network. Confirm the new IP address once the connection succeeds — it may print another status slip.
6. Add the printer to the POS system
On the POS software or computer, add a new network printer using the IP address the dongle obtained. Test a print job. If the IP changes later due to DHCP, set a static IP reservation on the router, or configure a static address inside the printer settings.
7. Verify and document
Print a network status report from the printer menu or utility. Note the MAC address and final IP for future reference. Restart the printer once to confirm the settings persist.
Practical Tips & Common Mistakes
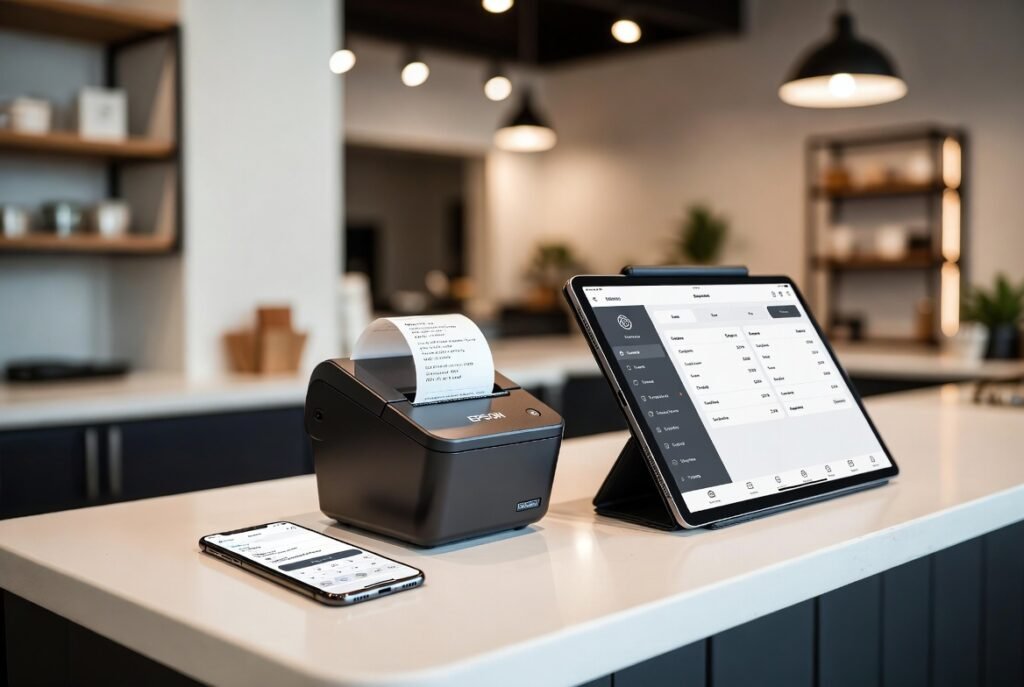
Tips that improve reliability:
- Use only the 2.4 GHz band of the router — most TM Wi-Fi dongles don’t support 5 GHz
- Place the printer and dongle within good signal range of the access point; the included extension cable helps position the antenna higher or clearer of metal surfaces
- Assign static IP addresses or DHCP reservations for every networked printer, so POS systems don’t lose them after a power cycle
- Keep the Epson TM Utility app updated, and note the printer’s firmware version
- After successful setup, remove any temporary network profiles from phones or laptops used for configuration
Common mistakes that prevent connection:
- Plugging the dongle into a data USB port instead of the designated wireless port, or failing to remove a plastic cover
- Attempting setup on a 5 GHz-only or combined SSID network
- Entering the wrong username/password combination for the printer’s age (see step 4 above)
- Disconnecting from the temporary access point too early, before the settings are saved
- Forgetting to update the POS software with the new IP address after the printer joins the main network
- Using a non-Epson or incompatible third-party dongle that the printer firmware doesn’t recognize
When these points are observed, most users successfully complete the Wi-Fi setup on the first try.
Conclusion
Connecting the optional Wi-Fi dongle to an Epson TM-series printer removes the need for Ethernet cabling and gives flexible placement in retail and food-service environments. The process centers on installing the dongle, joining its temporary access point, and using the Epson TM Utility or web interface to join the business’s 2.4 GHz network. Light single-station users finish quickly; multi-printer sites gain the most from documented IP addresses and consistent naming. Always verify the exact adapter model against the printer’s current documentation, confirm 2.4 GHz compatibility, and test print jobs from every POS terminal. Check the latest adapter availability, firmware notes, and any model-specific instructions directly from Epson or authorized suppliers, since details can vary.
FAQs
Which Epson TM printers work with the Wi-Fi dongle?
Most current TM-m30, TM-T88, TM-m30II, TM-T20III, and similar models support the official OT-WL series dongles. Confirm compatibility with the exact printer model number and Epson’s current accessory list.
Does the dongle support 5 GHz Wi-Fi?
No. These units operate on the 2.4 GHz band only. Use a dedicated 2.4 GHz SSID or a dual-band router that broadcasts separate network names.
What is the default password for the printer’s web interface?
It depends on the printer’s age. Older models use “epson” for both the username and password. Newer models use “epson” as the username and the printer’s serial number as the password. Both are listed in the printer’s documentation or on the status slip.
Why does the temporary network disappear after setup?
Once the printer successfully joins the business Wi-Fi network, the temporary access point mode ends. This is normal behavior.
Can I use the same dongle on multiple printers?
No. Each printer requires its own dedicated Wi-Fi dongle. One dongle cannot be shared across units.