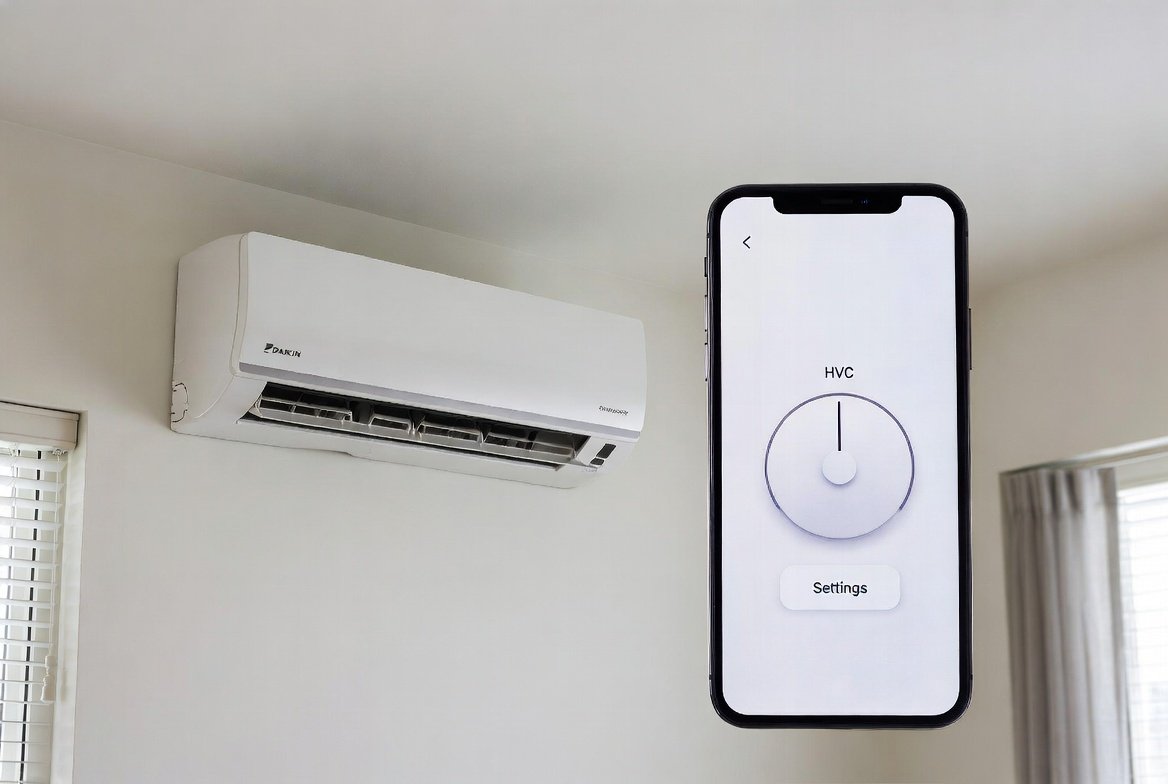
Most Daikin mini-splits need a separate wireless interface adapter (such as the AZAI6WSCDKB, also called the DKN Residential Cloud Wi-Fi Adapter) plugged into the indoor unit’s S21 communication port, plus the free Daikin Comfort Control app. The adapter only works on 2.4 GHz Wi-Fi, not 5 GHz or 6 GHz. Daikin’s own guidance calls for professional installation of the physical adapter — this isn’t just a suggestion for less-confident DIYers, it’s the standard expectation, since Daikin doesn’t provide consumer support for self-installed adapters.
Connecting a Daikin mini-split to Wi-Fi lets you control temperature, mode, fan speed, and schedules from your phone. Most models require a compatible wireless adapter and the Daikin Comfort Control app. This guide shows the exact steps to connect your Daikin mini split to Wi-Fi successfully.
Key Takeaways
- A separate wireless adapter is required for most models — built-in Wi-Fi isn’t standard on Daikin ductless systems
- The adapter works on 2.4 GHz only; a 5 GHz-only or combined SSID network is the single most common reason pairing fails
- Each indoor unit needs its own adapter; there’s no “one adapter for the whole system” option
- Daikin’s own documentation calls for professional installation — verify this with your specific adapter and retailer before attempting it yourself
What You Need to Connect a Daikin Mini Split to Wi-Fi
Daikin mini-splits (single-zone and multi-zone ductless systems) don’t always include built-in Wi-Fi. The standard method uses an optional wireless interface adapter that plugs into the indoor unit’s communication port, commonly the S21 port.
The official app is Daikin Comfort Control, available free on the Apple App Store and Google Play. Once paired, the app provides on/off control, mode selection, setpoint, fan speed, louver position, room temperature reading, and error alerts from anywhere with an internet connection.
Key requirements:
- Compatible wireless adapter (example: AZAI6WSCDKB, the DKN Residential Cloud Wi-Fi Adapter for S21/P1P2 systems). One adapter is needed per indoor unit.
- 2.4 GHz Wi-Fi network — these adapters don’t support 5 GHz or 6 GHz bands
- Stable home internet connection
- Smartphone or tablet running a current iOS or Android version
- Daikin Comfort Control app account
Some older indoor unit models don’t have a native S21 connection at all and need an additional interface adaptor first (specific models require adaptors like KRP067A41E or KRP980B2E) before the wireless adapter can be added. Always confirm exact compatibility with your indoor unit’s model number before purchasing — check the unit’s manual or current Daikin product documentation for the correct parts.
A Note on Professional Installation
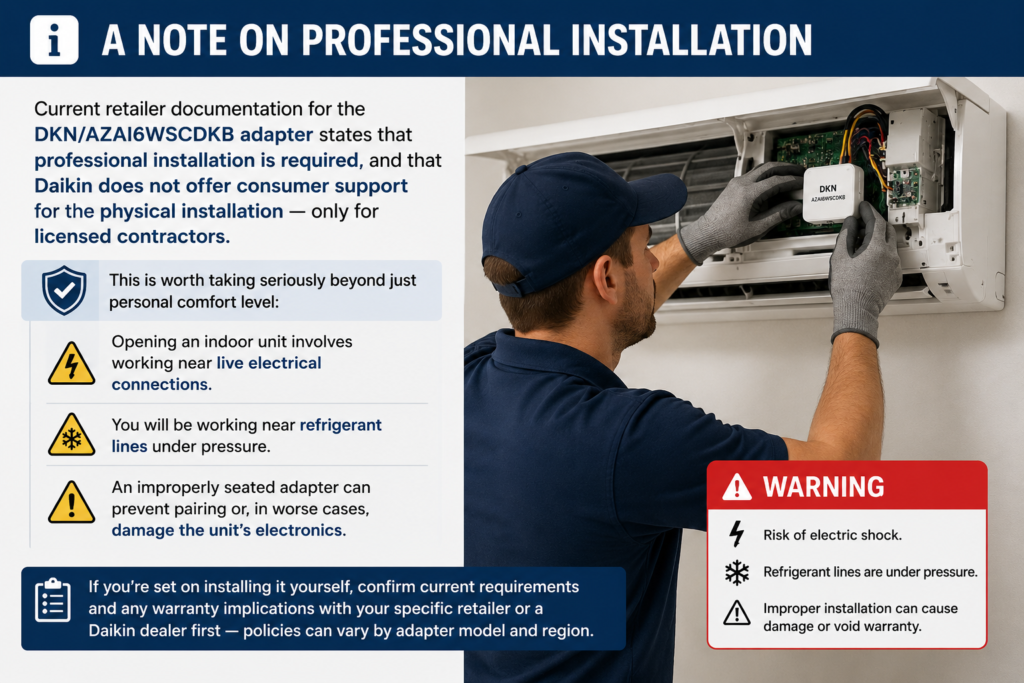
Current retailer documentation for the DKN/AZAI6WSCDKB adapter states that professional installation is required, and that Daikin does not offer consumer support for the physical installation — only for licensed contractors. This is worth taking seriously beyond just personal comfort level: opening an indoor unit involves working near live electrical connections and refrigerant lines, and an improperly seated adapter can prevent pairing or, in worse cases, damage the unit’s electronics. If you’re set on installing it yourself, confirm current requirements and any warranty implications with your specific retailer or a Daikin dealer first — policies can vary by adapter model and region.
Real-World Scenarios: Different Household Needs
The value of connecting a Daikin mini-split to Wi-Fi depends on how the system is used.
| Household Type | Typical Setup | Main Benefit of Wi-Fi Connection | Complexity Level |
|---|---|---|---|
| Light users (1–2 people, single zone) | One bedroom or living-room unit | Simple remote on/off and temperature adjustment from couch or office | Low — usually one adapter and quick app setup |
| Medium family (3–4 people, 2–3 zones) | Multiple indoor units | Group control, schedules for different rooms, energy monitoring | Medium — one adapter per unit + organized naming in the app |
| Heavy / multi-zone homes | 4+ indoor units or whole-home ductless | Full remote access, error alerts, integration with daily routines | Higher — careful labeling of each unit and strong 2.4 GHz coverage |
| Vacation or second-home owners | Units left unused for weeks | Turn system on before arrival, monitor for issues remotely | Medium — reliable internet at the property is essential |
Light users often complete the app-pairing portion in under 30 minutes once the adapter is professionally installed. Larger systems require more coordination for labeling and app organization but deliver greater convenience.
Step-by-Step: How to Connect Your Daikin Mini Split to Wi-Fi
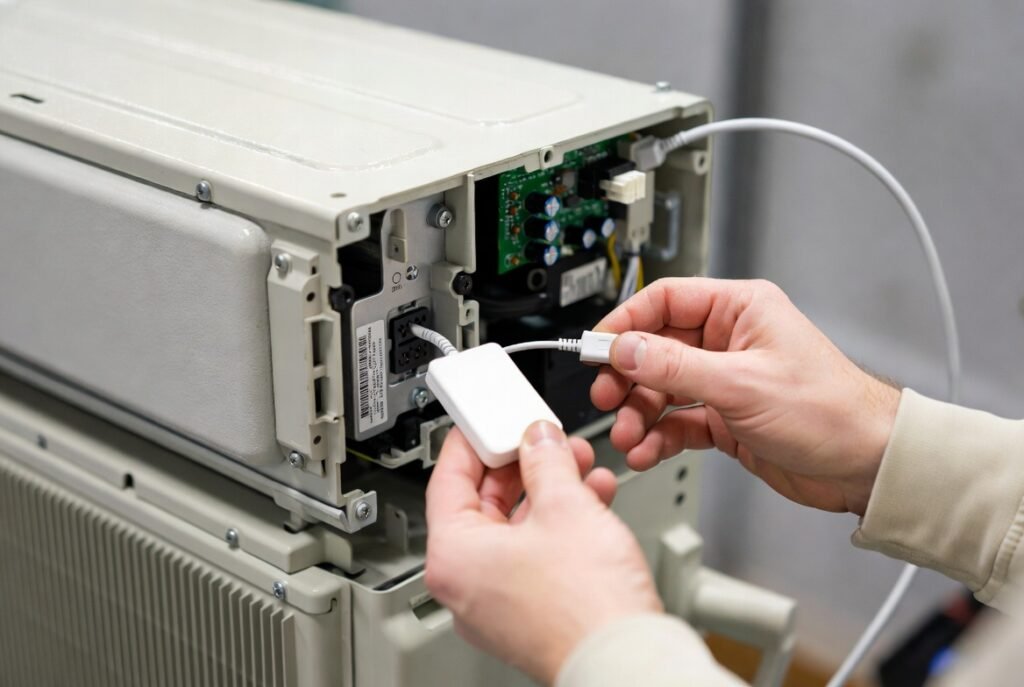
Power to the indoor unit should be off before any physical work on the adapter — and per the note above, this physical installation step is generally intended for a licensed technician.
1. Confirm compatibility and obtain the correct adapter
Locate the model number on the indoor unit. Purchase the matching Daikin wireless interface adapter or authorized equivalent. Pricing varies by retailer and current promotions.
2. Have the wireless adapter installed
A technician turns off power at the breaker, opens the indoor unit’s front panel per the service manual, connects the adapter cable to the designated communication port (S21 or equivalent), and secures the adapter before closing the panel and restoring power.
3. Download and set up the Daikin Comfort Control app
Install the app from the official App Store or Google Play. Create an account with a valid email address and verify it. Log in.
4. Put the adapter into pairing mode
Follow the specific instructions included with your adapter model. This usually involves pressing a button or combination of buttons on the adapter until indicator lights flash in a particular pattern.
5. Connect your phone to the adapter’s temporary Wi-Fi network
Open your phone’s Wi-Fi settings. Select the network name that appears for the Daikin adapter (often something like “Daikin-XXXX”). Enter the password printed on the adapter label or in the manual if required.
6. Configure the home network inside the app
Return to the Daikin Comfort Control app. Select “Add Device” or the equivalent option. Choose your 2.4 GHz home Wi-Fi network and enter the password. The adapter connects to your router and registers with the cloud. Keep the phone near the indoor unit during this step — the process can take 1–3 minutes.
7. Name the unit and test control
Assign a clear name (e.g., “Living Room,” “Master Bedroom”). Test on/off, temperature change, and mode from the app. Confirm the unit responds both while you’re on the same network and while using cellular data.
8. Repeat for additional indoor units
Each additional unit needs its own adapter and the same pairing process. Use unique names so the app stays organized.
If the adapter fails to join the home network, restart the adapter, confirm the network is 2.4 GHz only (or has a separate 2.4 GHz SSID), and try again.
Practical Tips & Common Mistakes
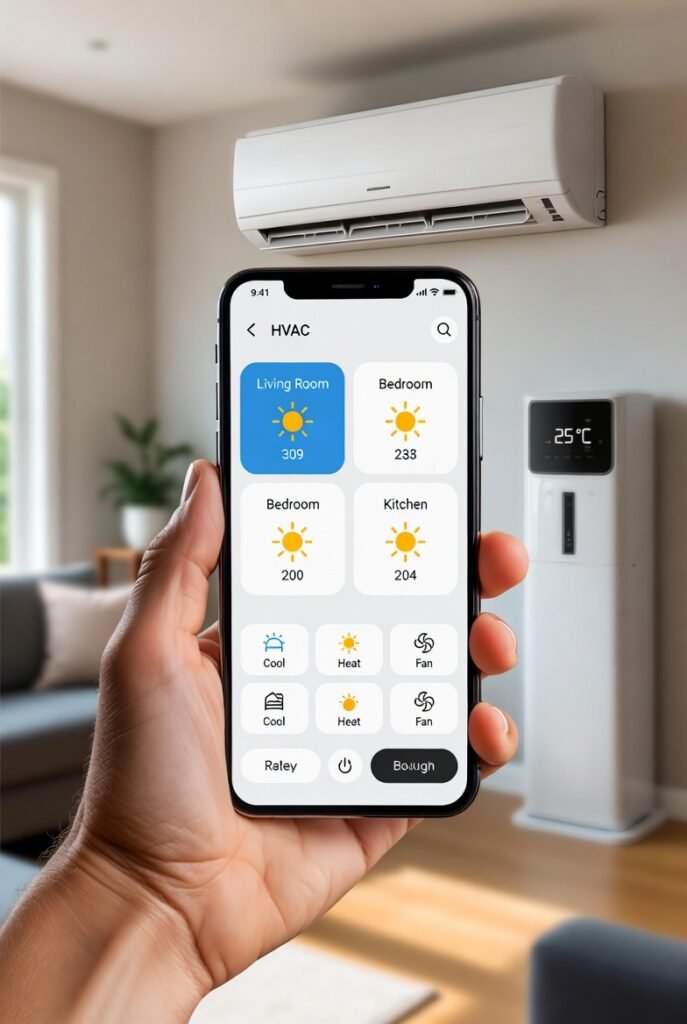
Tips that improve success rate:
- Separate your 2.4 GHz and 5 GHz bands with different network names if your router combines them — the adapter will only see the 2.4 GHz name
- Keep the indoor unit within reasonable range of the router, or use a 2.4 GHz-compatible Wi-Fi extender if the signal is weak
- Keep the adapter firmware updated through the app when prompts appear
- Label each adapter and corresponding indoor unit clearly during multi-zone installations
- Test control from outside the home (using cellular data) to confirm cloud connectivity works
Common mistakes that prevent pairing:
- Attempting to connect on a 5 GHz-only or combined SSID network — this is the single most frequent reason the process fails
- Skipping the temporary adapter-network connection step and trying to add the device while still on the home network
- Using an incompatible or third-party adapter not approved for the specific Daikin protocol
- Leaving the indoor unit powered off during the final cloud registration step
- Forgetting that each indoor head requires its own adapter — there’s no “one adapter for the whole system” option on standard residential mini-splits
- Attempting DIY installation on a system where a technician or retailer has specified professional installation only
When these issues are avoided, most users successfully connect their Daikin mini split to Wi-Fi on the first or second attempt.
Conclusion
Connecting a Daikin mini-split to Wi-Fi is straightforward once the correct wireless adapter is installed and the 2.4 GHz network requirement is met. The Daikin Comfort Control app then gives reliable remote access to temperature, mode, fan, and scheduling functions. Light users gain simple convenience; multi-zone homes gain organized whole-house control. Have the physical installation handled professionally, use only the official app and compatible adapter, and keep the network on the 2.4 GHz band. When these steps are completed correctly, the system responds quickly both at home and away. Always refer to the specific manuals for your indoor unit and adapter model, and check current adapter availability and installation requirements directly with Daikin or an authorized dealer, since details can vary by model and region.
FAQs
Do all Daikin mini-splits have built-in Wi-Fi?
No. Many residential ductless models require a separate wireless interface adapter. Confirm with the model number and current Daikin documentation.
Why does the adapter only work on 2.4 GHz?
The hardware is designed for the broader range and better wall penetration of 2.4 GHz. 5 GHz and 6 GHz bands aren’t supported on these adapters.
Can I control multiple indoor units from one app account?
Yes. Add each unit separately after its own adapter is installed and paired. Name them clearly for easy identification.
What if the adapter won’t join my home Wi-Fi?
Verify the network is pure 2.4 GHz (or has a dedicated 2.4 GHz SSID), move closer to the router, restart the adapter, and retry the pairing sequence. Double-check the password.
Is a professional required to install the adapter?
Yes, generally. Current documentation for these adapters states that professional installation is required and that Daikin provides support only to licensed contractors, not consumers installing it themselves. Confirm the exact requirement with your retailer or a Daikin dealer, since it can vary by adapter and region. The app-pairing steps afterward can be completed by the homeowner.
Leave a Reply